
Wifes Urn Project
This is by far one of the hardest projects I have ever worked on emotionally next to the cross I made for my wife and my cross neck urn to hold some of her ashes.
Anyone can go out and buy an urn for their loved one somewhere but not everyone has it in them to make one. I loved my wife and appreciate every year, month, day, hour, minute and second that me and my boys were blessed with her in our lives.
My wife knew how creative of a person I was so I know she would see this as normal and almost expect this as something I would do. My creativeness has been my main outlet for directing all the pain I have felt inside in losing my wife and helps to give me strength as also do my boys. I also get to use my creativeness to show others how I feel and hopefully that inspires others and their mutual bonds between them. I’m still going to give grace where it is due in that I may be creative but its a higher source that grants me that and guides me.
I’d give anything to have my wife back but in reality I know what is just is. It doesn’t mean that I have to forget, stop appreciating or doing things in light of my wife’s shadow. Even now she inspires me and I’m pretty okay with that.
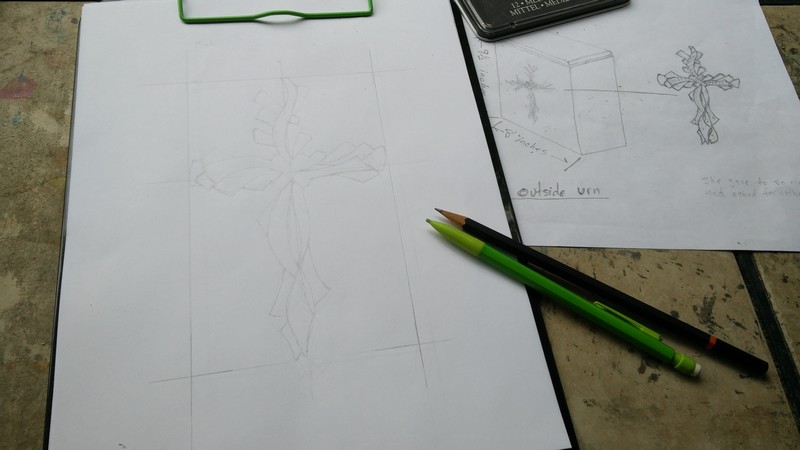
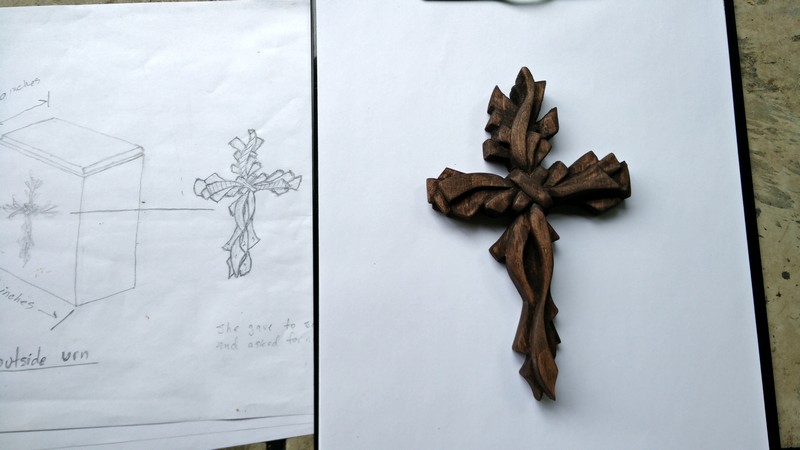
Back when I was in a waiting pattern of getting my wife back from the butchers block (Coroner) I had an initial inspiration for an urn and drew it out on paper so I wouldn’t forget it, along with an angel statue that I wanted on her tomb (not represented here). So, I pondered on this for awhile (in Tagalog it is called muni-muni) and through several iterations came up with a final design for the urn I wanted to my wife’s ashes to rest in.
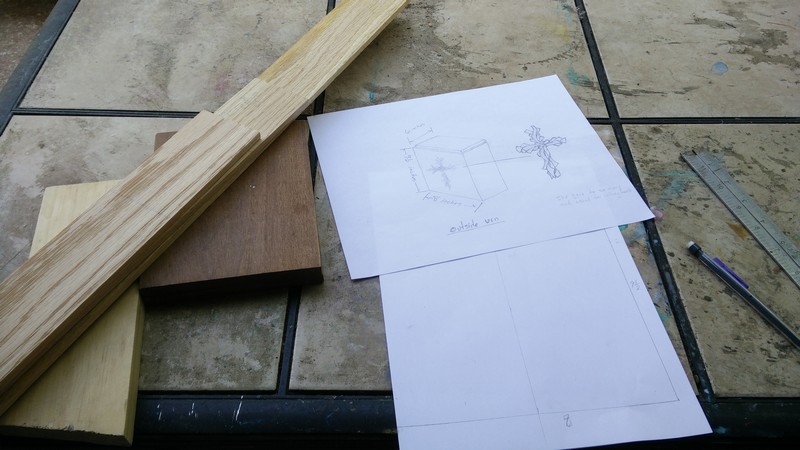
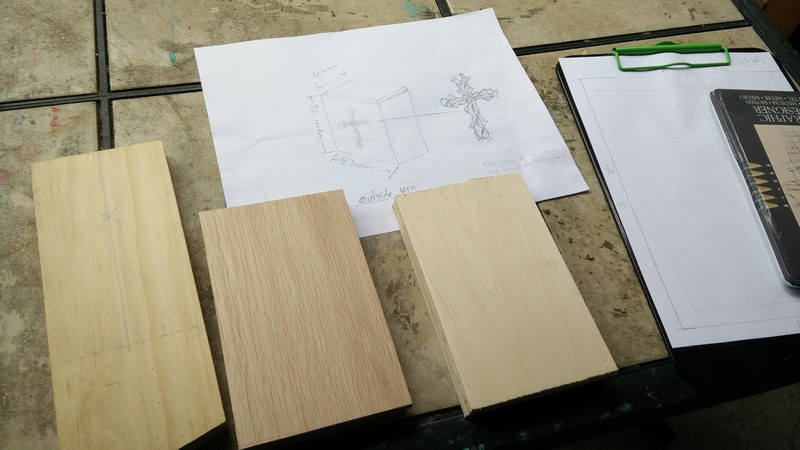
Some things I still keep in my head but where there is more detail I like to try and sketch it out as best as possible. I did have some trouble thinking of what wood I wanted to use so I decided to make three samples and see which one would be the softest for carving so I got some scraps out of my bin for birch, oak and some other wood that I forgot.
For the birch I only had thin pieces and since I knew my design for the cross was going to be layered in order to get the depth leafy beam sort of look I glued three of the pieces together like pancakes.
Having my samples I then needed to draw out the cross in a template fashion so that I could transfer it to each of the sample pieces of wood that I had.
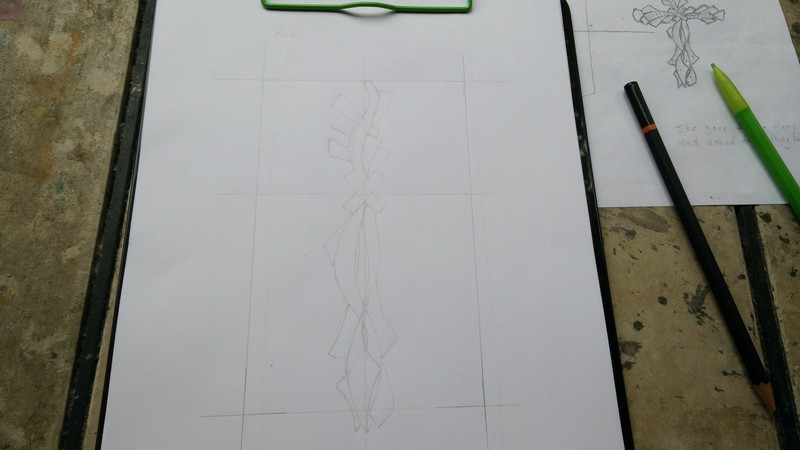
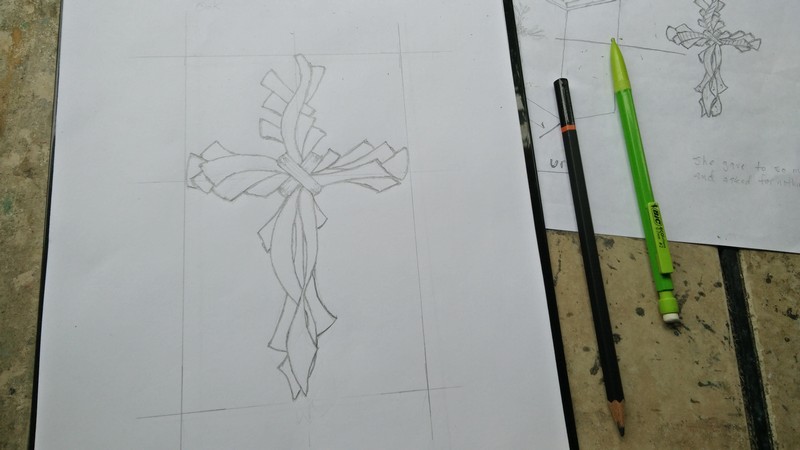
This is the final drawing I used on all of the samples. It is a flat drawing but once carved it will have beautiful layers to it.

After adding the drawing to all three samples, I tested each to see which one would be easiest to carve with. As it turned out, the birch on the far left had just the right balance of firmness and being easy to carve.
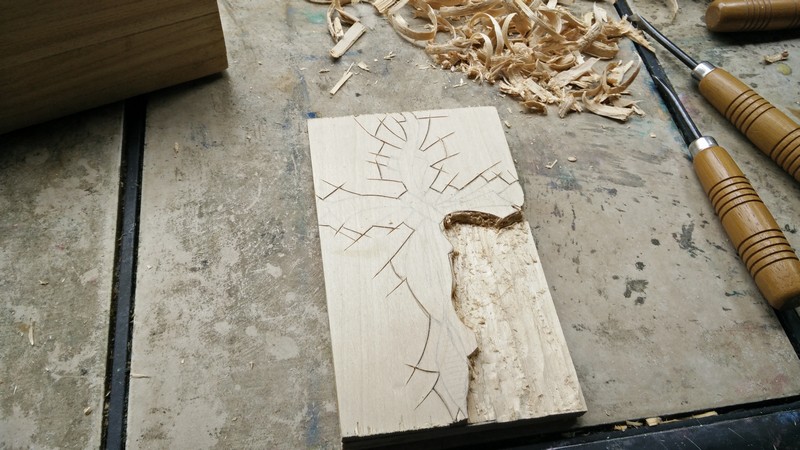
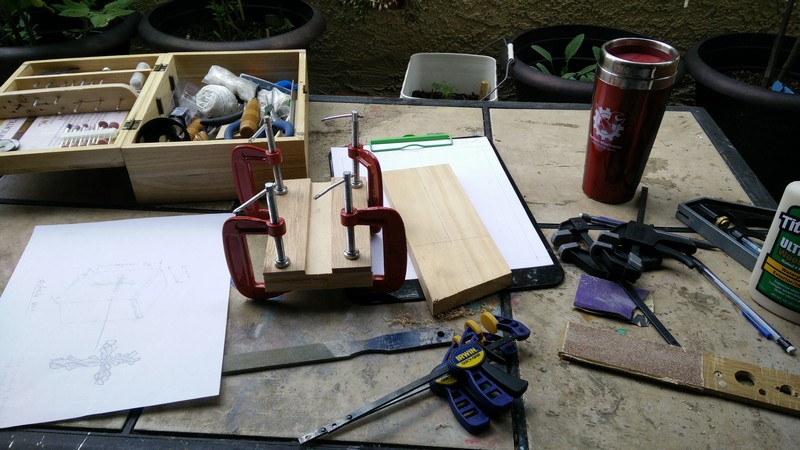
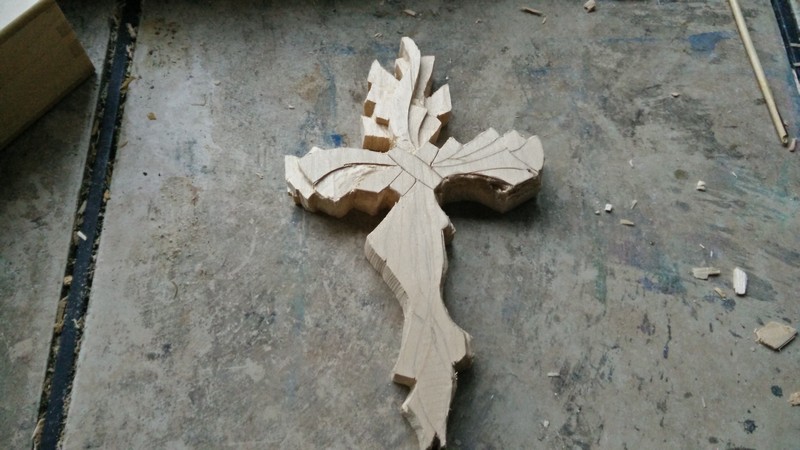
I don’t have very extravagant tools but a mishmash of hand tools and a Dremel. I used my utility knife to mark out the edges of the cross and some hand carving tools to remove the bulk.

With the cross cut out I meticulously started carving various layers, working in one area and branching off to the next. I cut myself quite a bit so literally blood and sweat went into this creation.
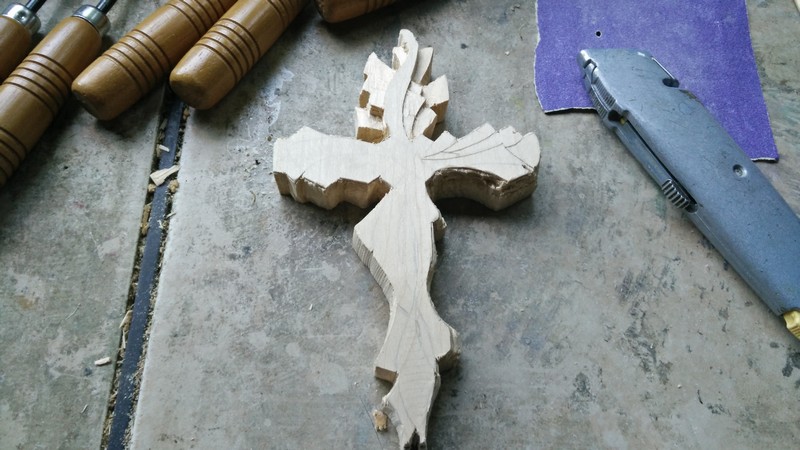
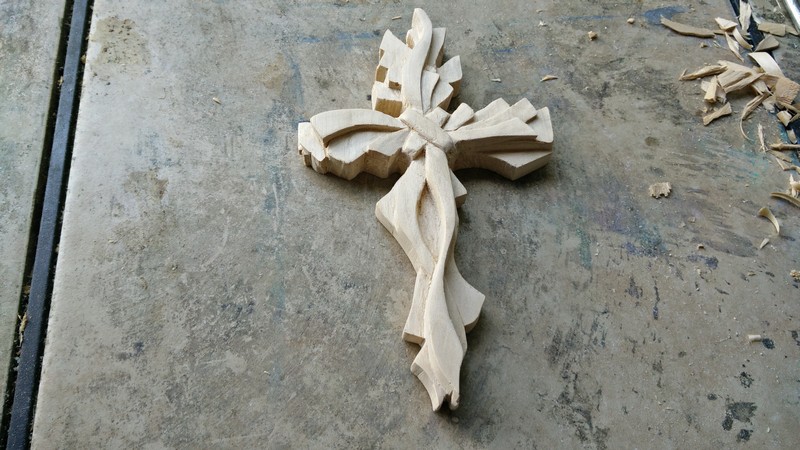
Added a little more fine detailing and changed how some of the ribbon beams looked. Took some sandpaper to smooth out several areas of the piece.
I was pretty happy with this so gave it a fine sanding to prep it for some staining. I chose an oak stain and applied it with a rag. I would dab the cloth on a different piece of old scrap wood to that the stain was not so dark and heavy. After letting dry for a few days I very lightly went over it with some fine grit sandpaper to give it a sort of weathered look.
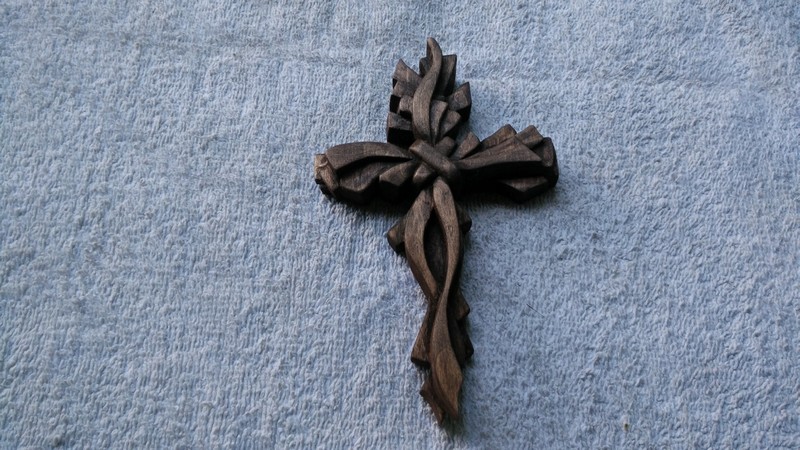
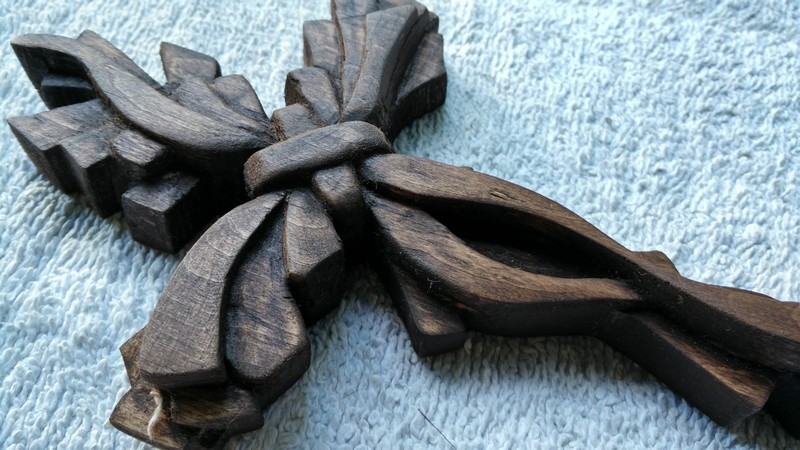
I am pretty happy with the result and it is very close to what I had originally projected. Drawings hardly ever come out exactly right as there is always tweaking during the creative process.
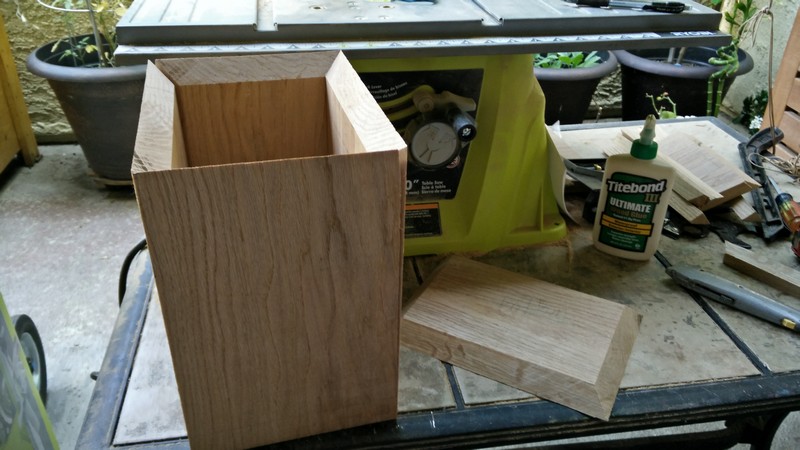
I borrowed a table saw from a friend and started cutting the sides for the urn. I wanted 45 degree angles to hide the edges and that worked out real nice. Below I am dry fitting the sides together.

While I was staring at the urn I had a design idea and quickly grabbed a piece of paper, taped it to the urn and started sketching it out.
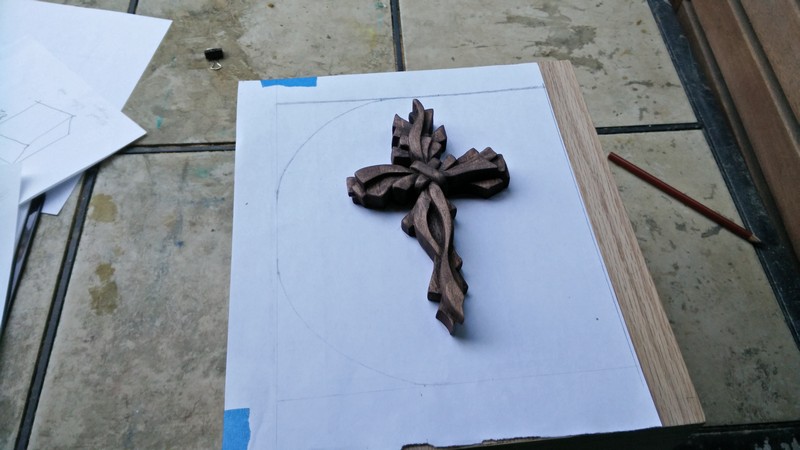
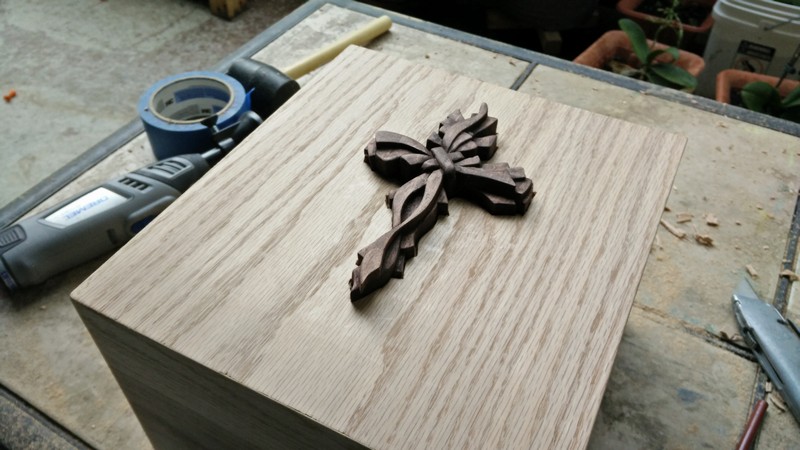
I decided to have the cross be inset into the face of the urn. Where the cross is above is pretty much where the inset will be located. I will trace it out onto the face of the urn and carve out about an eighth of an inch which the cross will sit in. Sort of like an embedded puzzle piece if you will.
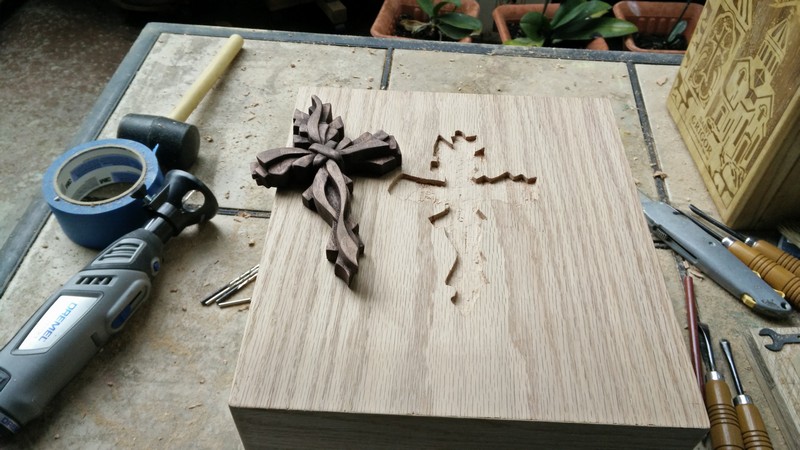
Above shows the inset carved into the face of the urn. I finally got to use my dremel rather than having it sit in the closet. Honestly I have a lot of blisters and cuts so the dremel was a welcomed tool. After I routed out a rough outline I then used my hand carving tools for the finer points and lines.
Fits like a glove. I’ll be updating this post as progress is made or once the urn is completely done.
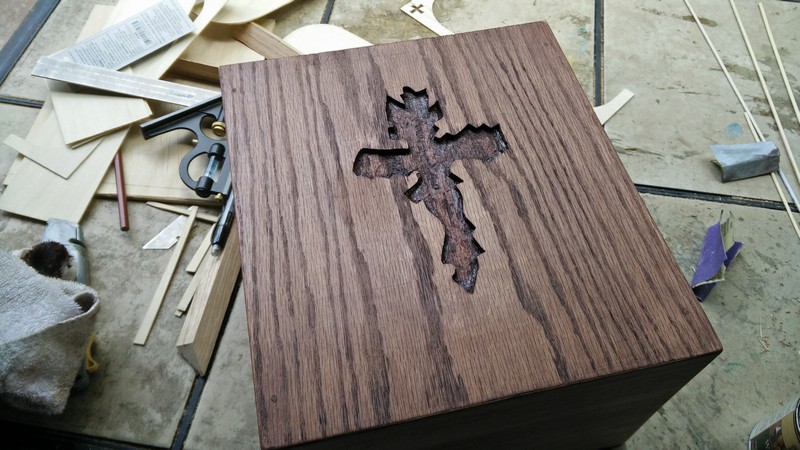
Urn with a primary coat of oak stain. Inset actually looks pretty cool but Im still going to mount the cross into it.

Cross fitted into the inset of the urn. The stains do not contrast each other in this picture but in different light they do and the cross stands out.
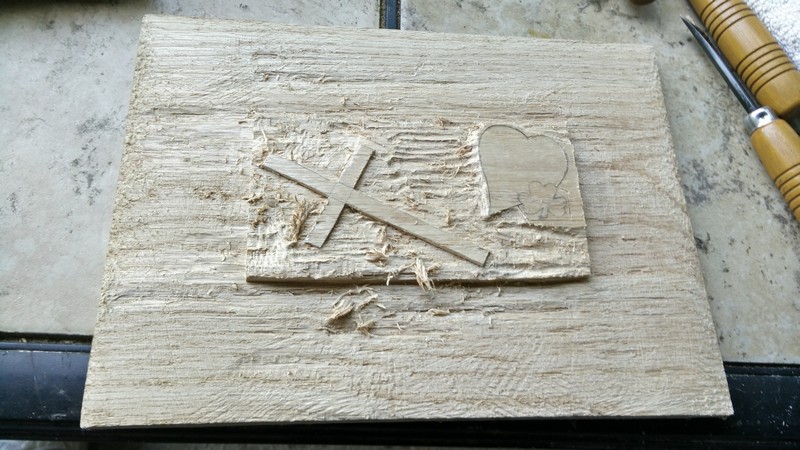
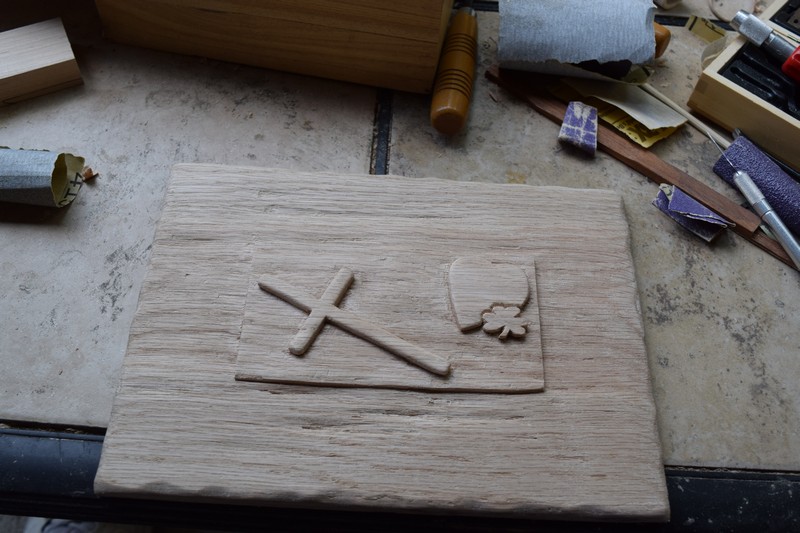
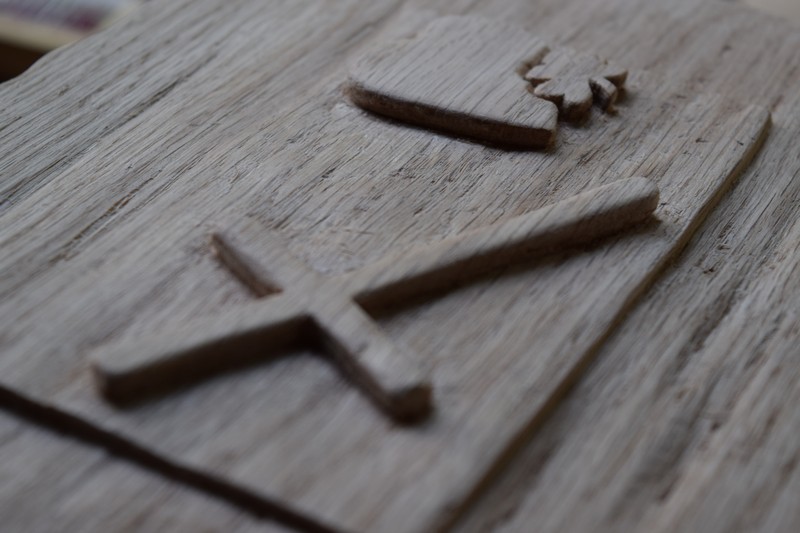
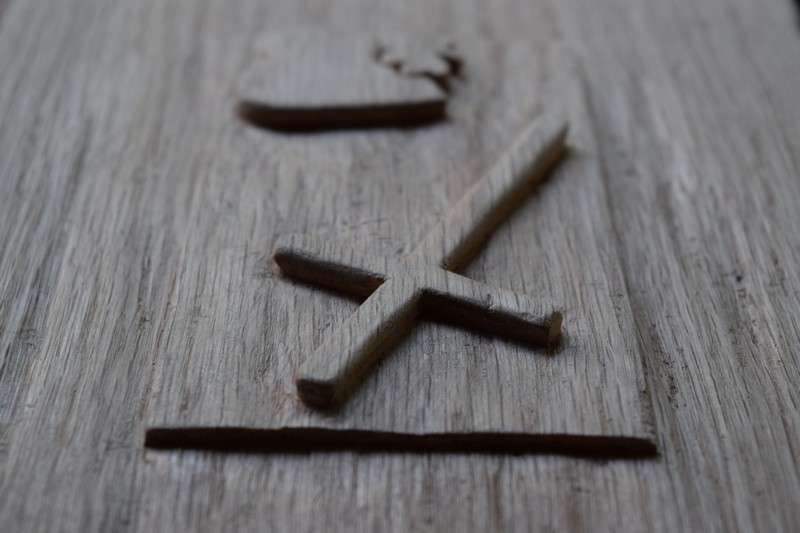
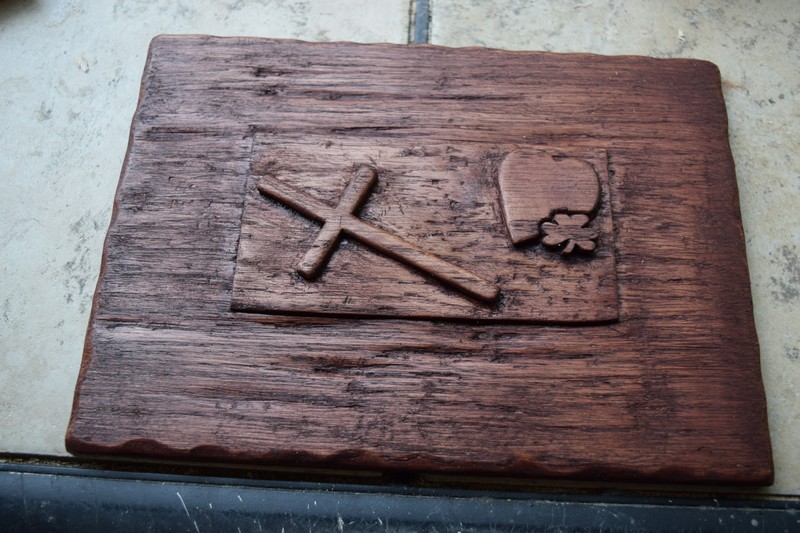
This is one of those brainstorm ideas I had after staring at the lid and thinking it looked extremely plain. I decided to roughen up the lid and carve a sort of tablet to the top of it with a cross a heart and an Irish clover.
Carved and sanded. I decided to roughen up the edges of the lid as well with a wood rasp.
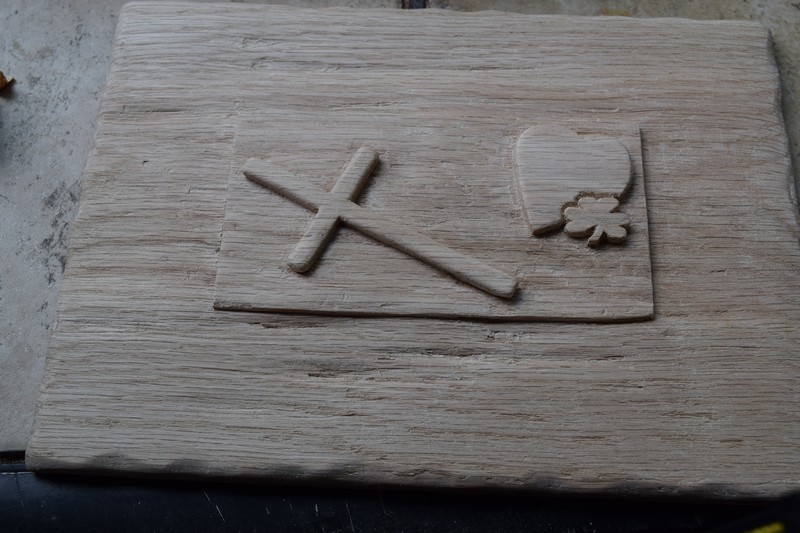
A little more detail sanding and then ready for staining.
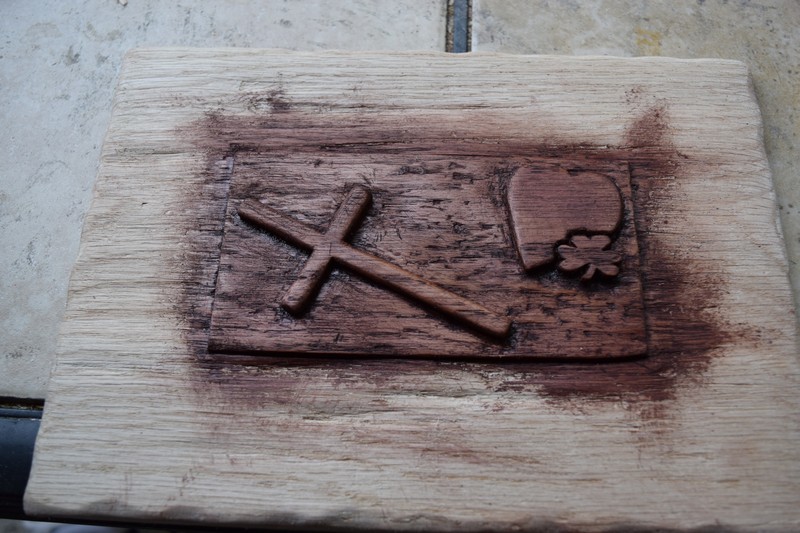
Done with the staining of the lid. Will let it dry a day or so and then fit a guide under it which will slide into the urn and hold the lid in place.
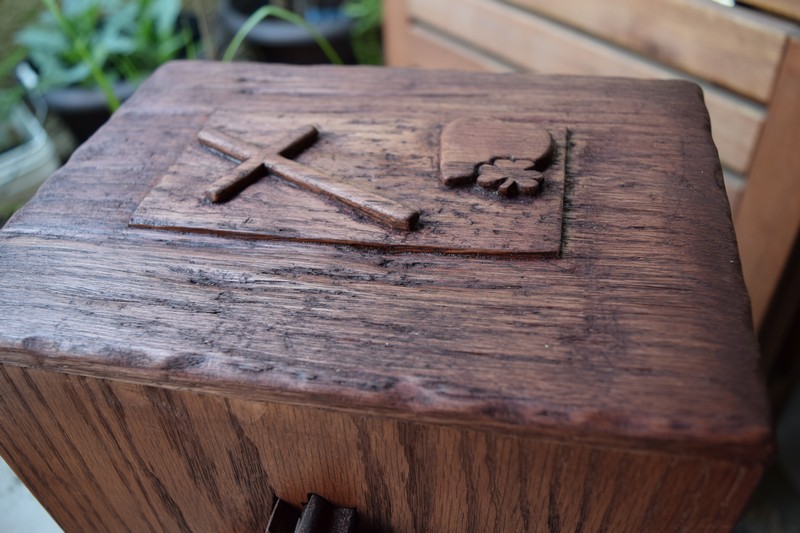
Dry fitting the lid. I didnt take a picture of the guide underneath the lid but its there.
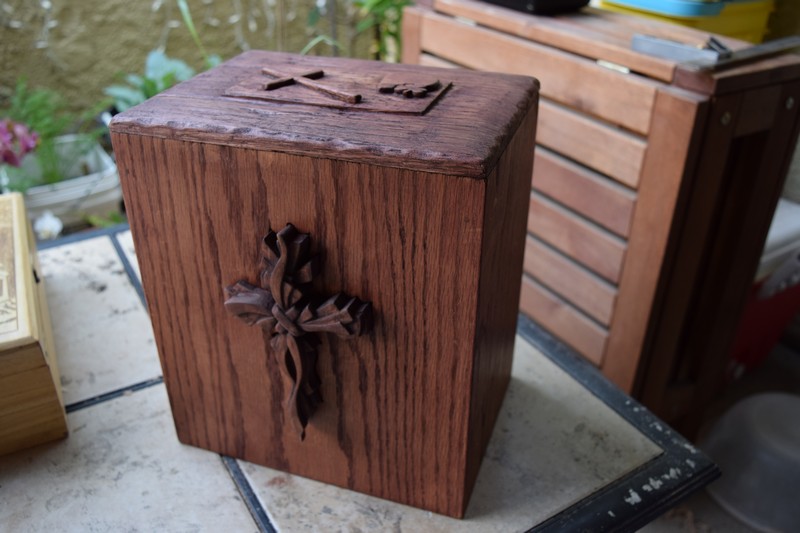
Finished urn. Will package it up for the Philippines to take with us soon. Once in the Philippines my mission of getting my wife there and laying her to rest next to her dad will be complete. Now the journey begins.