
Dell Studio 17 1747 – Replace LCD Top
A co-worker has a Dell Studio laptop that is relatively new but has a broken top at where the security lock and power button are and asked if I could repair it. This is not by any means the best design Dell has ever come out with and is apparently something that happens frequently with the Studio models, according to researching tech forums. I could repair it but after analyzing the unit I saw that the entire top needed to be replaced, ridiculous given the minor damage, but because of the design flaw that’s what it needed. To compound this, the co-worker wanted the same exact top with same graphic, it was a skull design. After poking around I found one on the entire Internet for around $35 (new) so my co-worker ordered it and it came in a week later.
-
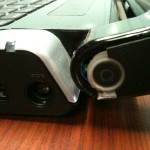
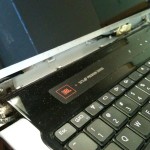
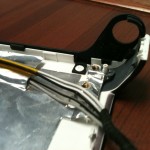
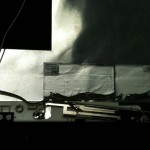
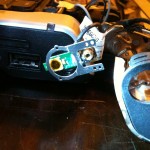
- Power button damage
-
- Lock damage
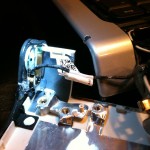
First step before doing anything, always remove the battery. You have to anyways since most times there are always screws attaching some aspect of the body to the keyboard or something. Next I took a small flat plastic screwdriver and began popping off the LCD front side plastic trim and then the plastic cover over the power LEDs. This let me get to the two upper corner screws and six bottom most screws of the top cover to detach it from the unit.
Once thing I like about Studio design is that the LCD is mounted on its own frame so the cover and front side trim basically attach like a clam shell. This would have been more work than I was about to find I would get myself into.
-
- Remove battery before doing anything
-
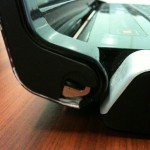
- Begin removing the front side LCD cover
-
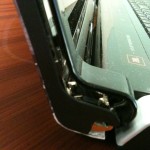
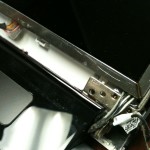
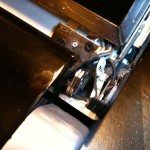
- Remove the three black screws
-
- Right side screws to remove
-
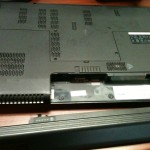
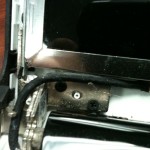
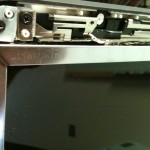
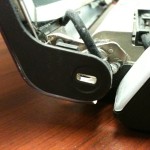
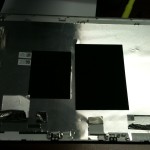
- Laptop top separated from main laptop unit
-
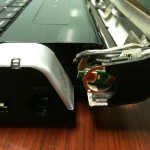
- The damaged power button side
-
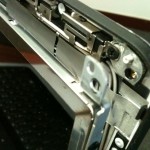
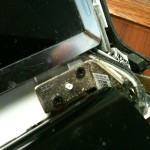
- Remove top corner screw on each side
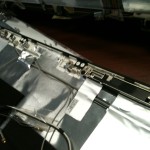
When I detached the top cover and laid it down I noticed the wire harness went into the laptop to a point I was not willing to go. Should this have been a CPU change or something then sure. I could have taken the bottom of the laptop off but it would have been a bit more work for something as simple as a laptop cover change so I opted for the secondary choice, detach the wiring from the new laptop cover and use the existing wiring that was already attached to the old cover I was about to replace. This was still a sound choice and only added another ten minutes of time on this repair.
-
- Brand new top with wiring
-
- New power button molding
-
- New laptop security lock area
-
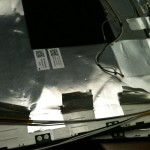
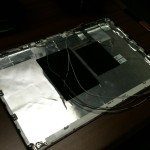
- Peeling back shielding tape from back of laptop top
-
- Old laptop top with wiring removed
-
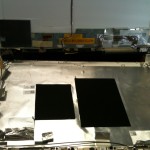
- New laptop top cover with wiring attached, ready to reassemble.
Another design flaw I feel that needs to be pointed out is that in the area of the power button there are two sets of plastic studs that are supposed the power button is supposed to press onto to mount it, they were actually thinner than the holes on the power button circuit itself (odd since this was new and not used or refurbished) so I had no choice but to opt to set it in place and hit it with a hot glue gun. This will at least solidly set it in place and provide an option in the future to remove it again should the power button area on the cover break and need to be replaced.
-
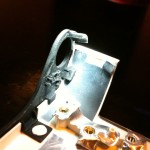
- Double posts where button mounts to are too thin for the holes in the button switch
-
- This is the power button switch
-
- Hot glued in place
-
- Perfect fit
Once everything was reassembled I fired it up and it powered on fine. My coworker later confirmed for me that the camera was working correctly. It was within the wiring harness items that were changed from the old cover to the new cover. Power button behavior is as expected and should last a good while so long as care is given.